Backyard composting is easy — really. If you spend over an hour/year managing, you’re over-investing. And don’t worry: It won’t smell or attract vermin.
The dual benefits of home composting include:
- Having great compost on site for your garden
- Keeping food scraps out of our landfills
How to Get Started
Here’s what you need to get started.
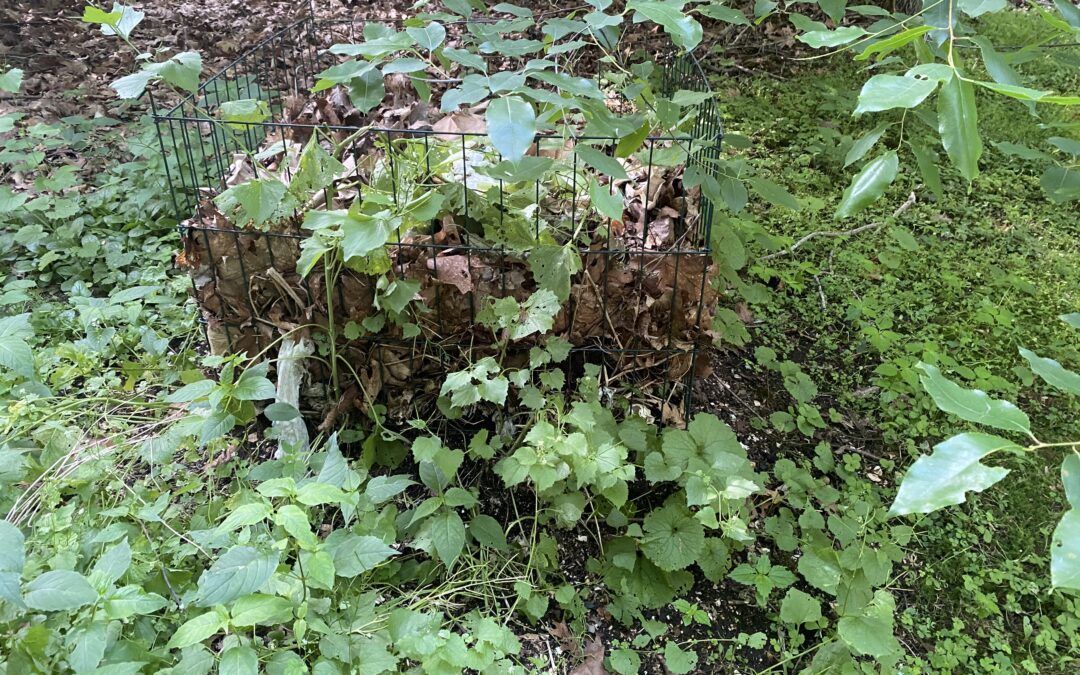
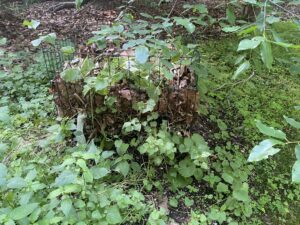
- An outdoor compost bin. See below for a photo of mine. It’s a metal mesh of about one square yard, with feet that go into the ground and keep it stable. Strictly speaking, you do not need a bin, but it helps. There are some expensive ones out there that you do not need. The one I use I purchased through Amazon and set up in 10 minutes. People with lots of compost, such as farms, have a three-bin system: One is being added to with new scraps; the second is full and ‘cooking’; and the third is cooked and ready to be spread as soil. For a household, you don’t need this.
- Food scraps. ONLY use non-animal matter (though egg shells are OK). If you want to compost animal products (bones, meat scraps), use the compost bins at the Transfer Station. The compost company that picks up from the Transfer Station has special equipment to handle animal products.
- Leaves. And we all have lots of those.
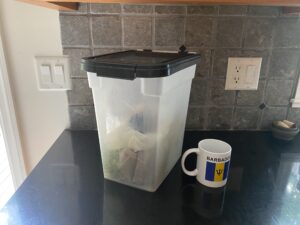
- A container for the kitchen to hold scraps before putting them in the compost bin outside. I keep my kitchen compost in a plastic dog food container ($15 at Amazon) that seals tightly and does not smell. See the photo below. There are all sorts of expensive designer bins out there you do not need.
How to Do It…Ten Steps to Backyard Composting
- Set up your bin. I have mine in a back area of the property as out of sight, though accessible, as I can make it. That said, it tends to blend in.
- Fill the bin with dead leaves.
- Add vegetable and fruit scraps. This can include items such as broccoli stalks, leftovers, and fruit peels. (Note: Citrus peels compost slowly.) Be sure to cut things up as small as possible. They will compost much more quickly. Think of it this way: If a dead tree falls in the woods, it could take 20 to 30 years to decompose fully. If you were to take that tree, run it through a wood chipper, and spray the chips in the woods, it’d compost in a year or so.
- Add more leaves when the matter in the bin shrinks below the top.
- Be sure the bin’s contents are damp. Things will compost faster this way. If rain is not doing the job, use a watering can.
- Every month or so, stir the contents of the bin. Do the best you can. Don’t overthink it. A simple garden fork does the job. Why do this? You want to ensure that as much of the matter in the bin is exposed to air. Just like leaving leftovers uncovered in the fridge speeds up their spoilage, leaving compost undisturbed in a lump slows decomposition. For example, there are things called middens, which are ancient buried trash dumps archeologists examine to understand what ancient peoples ate, threw away, and used. If they are well buried (meaning little or no water and no sun), you can still smell the trash when you excavate them. What speeds decomposition are moisture and sun — and small pieces to decompose.
- Keep adding new scraps and those leaves.
- When the bin has become full of solid matter (though maybe it still needs to be ‘fully cooked’), you’re done. How quickly does this happen? It depends on the amount of sun, moisture, and stirring, and how small the scraps were when added.
- Lift the sides of the bin, and move it to a new place. I move mine 2 to 3 feet away. Keep stirring the nearly done compile pile. At this point, a spade does a better job. When you cannot identify anything in the pile (because it has decomposed), it’s done. Use that compost!!
- Repeat. Start filling the now-empty compost bin with those leaves and scraps.
Further Pointers
- If it’s the dead of winter and your compost bin is a bit frozen (likely not going to happen as decomposing matter kicks off heat), do not worry. You can keep adding material. Stir it up when there’s a thaw.
- Very serious composters will have views on the right mix of so-called ‘brown’ and ‘green’ matter to add to the bin. While this mix can have benefits, in the end, it’s not that big a deal. Most of any compost you make will be beneficial.
- There are various so-called Compost Boosters sold in garden stores that can accelerate/help the decomposition process. You don’t really need them, though they can help.
- Do not use lawn grass clippings, unless you do so Very Sparingly and are 100% sure there are no chemicals on them. This goes for everything you add. If you add food scraps that have been heavily sprayed with pesticides, insecticides, and all that, those chemicals end up in the compost. So, go organic, and you’ll be fine.
- Do Not put Any pet waste in the compost pile.
One More Option for the Hard Core
In closing, home composting is cheap, easy, and fun and really helps the environment. If you have kids, make it a science project. But whatever you do, COMPOST!
Note: If you are REALLY hardcore, you will have a vermiculture bin in your basement (that’s worms in a specially made bin) and you’ll feed your kitchen scraps to them, producing more worms and worm castings (worm poop), which is fabulous for gardens. A topic for another day.